Cutting Edge Replacement Checklist: From Lockout to Final Torque
Cutting edges are heavy, and their fasteners rely on clean, flat mating surfaces and correct clamp load. A successful replacement is therefore a lifting, cleaning, inspection and fastening job—not simply a nut-and-bolt swap.
Before starting: obtain the exact machine’s Operation and Maintenance Manual (OMM), parts diagram, approved support method, fastener torque and wear limit. This article does not replace those values.
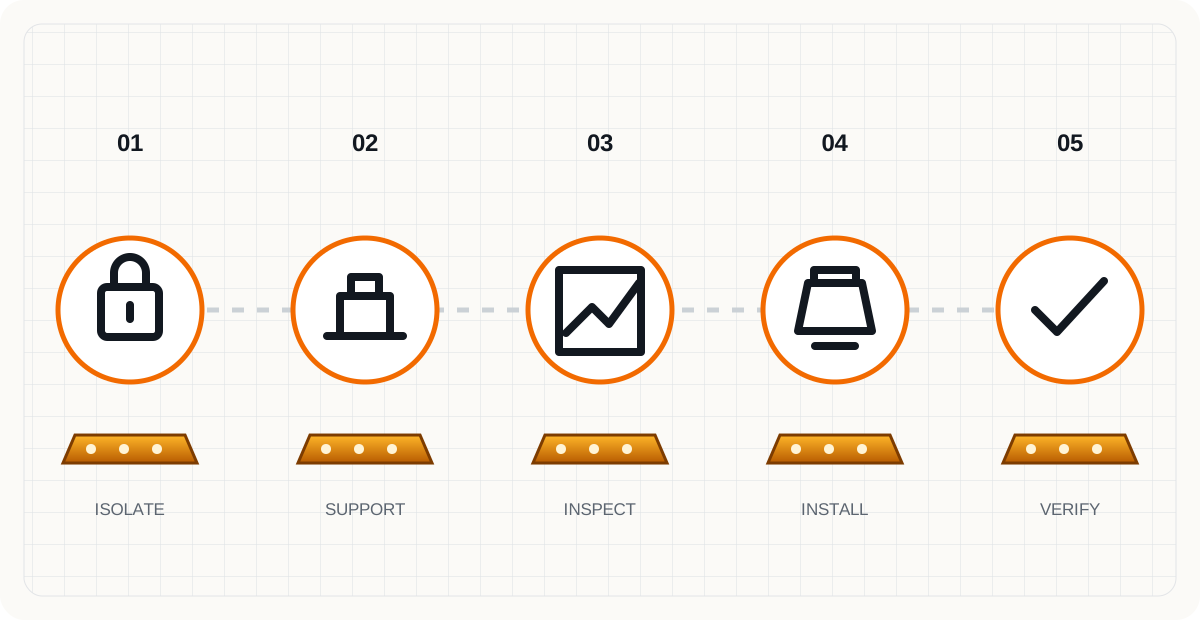
Figure 1. Treat replacement as a controlled sequence. The machine-specific OMM defines the approved support, lifting and tightening details.
Prepare the job
- Park on dry, level, stable ground.
- Lower the blade or bucket onto supports rated for the load.
- Isolate the machine, release stored energy and apply the site’s lockout procedure.
- Establish an exclusion zone.
- Confirm the edge weight and use an approved lifting device or a second person as required.
- Wear the PPE specified by the OMM and site risk assessment.
- Verify replacement part numbers, orientation and hole pattern before removal.
- Have the specified new bolts and nuts, calibrated torque tool and cleaning tools ready.
Caterpillar’s grader guide recommends level ground, supported edges and assistance because cutting edges and end bits are heavy. See the motor grader replacement guide.
Remove one controlled section at a time
- Clean exposed threads so the tool seats correctly.
- Support the edge section before the last fastener is removed.
- Remove nuts and bolts using the approved sequence and tooling.
- Lower the section to a stable surface—never catch or balance it by hand.
- Keep left/right end bits and reversible pieces identified.
- Inspect removed hardware for stretching, damaged threads, fretting or distorted heads; do not reuse it when the manual or supplier requires new hardware.
Inspect the structure
Do not cover a defect with a new edge.
| Area | Acceptable condition | Escalate when |
|---|---|---|
| Moldboard / base edge | Flat, clean contact surface | Cracks, distortion, elongated holes |
| Countersinks | Clean and correctly shaped | Head cannot seat fully or rocks in the hole |
| Mating surfaces | Bare, flat and debris-free | Paint, rust scale, weld spatter or trapped dirt |
| End-bit area | Correct geometry and support | Cracks, missing material or interference |
| Hardware | Correct part and condition | Wrong grade, thread damage, corrosion or stretching |
Install for clamp load
- Clean dirt, paint, scale, rust and weld spatter from mating surfaces.
- Confirm the surfaces lie flat without forcing the edge into position.
- Install the specified fasteners in the correct orientation.
- Draw the edge into contact progressively—commonly from the center outward or from one end to the other, as the manufacturer specifies.
- Seat countersunk bolt heads using the approved method.
- Tighten to the machine-specific dry or lubricated torque condition stated in the OMM.
- Complete the prescribed second pass after seating.
Caterpillar’s cutting-edge instructions say mating surfaces and threads must be clean, warn against applying lubricant because it can over-stretch the bolt, and call for tightening, seating the heads, then tightening again. These instructions apply to the referenced Cat systems; always use the procedure for your hardware. See Cat Cutting Edge Systems.
Why generic torque tables are risky
Torque depends on bolt diameter, pitch, grade, coating, thread condition, lubrication and joint design. Lubrication changes friction and therefore clamp load at the same wrench setting. A value copied from another machine can under-clamp the joint or stretch the bolt.
Record the source of the value in the job card:
| Record | Entry |
|---|---|
| Machine and serial range | |
| Edge and fastener part numbers | |
| Torque value and units | |
| Thread condition | Dry / specified lubricant |
| Manual document and revision | |
| Torque-tool ID / calibration due date | |
| Technician and completion time |
Final verification
- All fasteners are present, seated and marked after final torque.
- Edge orientation and overlap are correct.
- No tool, support or loose hardware remains in the work area.
- Blade or bucket moves through its permitted range without interference.
- The work order includes starting dimensions and photographs.
- A follow-up fastener inspection is scheduled at the interval required by the OMM or site procedure.
Sources
- Caterpillar: Motor Grader Cutting Edges Replacement Guide
- Caterpillar: Cutting Edge Systems — expert installation tips
- Caterpillar: Caring for Precision Cutting Edges
Safety note: use only approved supports and lifting devices. If the OMM conflicts with this general checklist, the OMM controls.