Bucket Tooth Pin and Retainer Installation: A Safe, System-Specific Guide
Bucket tooth retention systems can look similar while using different pin directions, locks and service tools. Treat the tooth, adapter, pin and retainer as one identified system. A generic sequence can organize the job, but the exact Operation and Maintenance Manual (OMM) controls every installation detail.
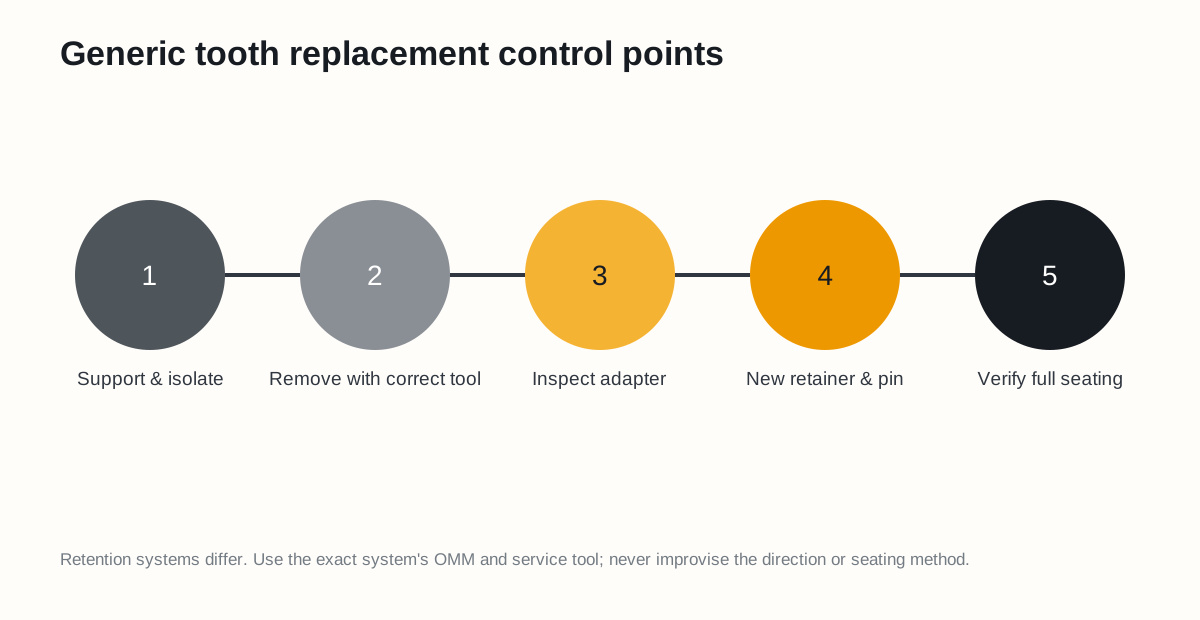
Figure 1. Generic control points only. Pin direction, bucket position, tool and seating indication are system-specific.
Before touching the tooth
- Park on stable, level ground.
- Position, lower and support the bucket exactly as the OMM requires.
- Isolate the machine and release stored hydraulic energy.
- Establish an exclusion zone for falling parts and tool strikes.
- Wear the specified eye, face, hand, foot and hearing protection.
- Confirm tooth system, size, pin, retainer and approved removal tool.
Never place any part of the body beneath an unsupported bucket or in the path of a tooth that may release suddenly.
Controlled removal
- Clean the tooth and retention area.
- Orient the bucket as the system procedure specifies so the tooth cannot fall unpredictably.
- Position the dedicated removal tool on the stated side and direction.
- Use the approved striking or unlocking method.
- Remove the pin, retainer and tooth while controlling their weight.
- Keep removed parts for inspection rather than immediately discarding them.
For Cat J Series tips, Caterpillar instructs users to position the bucket upward, use a tooth pin remover from the specified side, remove the pin and retainer, then inspect the adapter. That sequence belongs to the referenced J Series system. See Cat J Series installation guidance.
Inspect before installing
| Component | Check |
|---|---|
| Adapter nose | Cracks, rust, nicks, asymmetry, lower-strap wear |
| Contact faces | Hammering, fretting, missing support area |
| Retention bore/slot | Elongation, debris, damage |
| New tooth pocket | Correct series, clean, undamaged |
| Pin and retainer | Correct new parts and orientation |
Do not use a new tooth to hide an adapter beyond its wear limit. Caterpillar calls for repair or replacement depending on adapter damage.
Installation
- Clean the adapter and tooth pocket.
- Install the specified new retainer in the correct orientation.
- Slide the tooth fully onto the adapter without forcing a wrong fit.
- Insert the specified new pin or lock in the stated direction.
- Seat or rotate the lock using the approved tool and endpoint.
- Verify that the tooth is fully seated and the retention part is secure.
- Account for all tools and old parts before returning the machine to service.
Do not weld, tack, glue or modify retention parts unless an approved engineering procedure explicitly requires it.
Post-installation inspection
At the interval required by the OMM or site procedure:
- Confirm every tooth and retainer remains present.
- Check for unusual movement or bright fretting marks.
- Look for cracks around the pocket and adapter.
- Compare the full tooth line for one-sided loading.
Sources
- Caterpillar: How to Remove and Install J Series Bucket Tips
- Caterpillar: What to Know About Ground Engaging Tools
- Caterpillar: Ground Engaging Tools for Construction
Safety note: the correct machine and tooth-system OMM overrides this general guide.